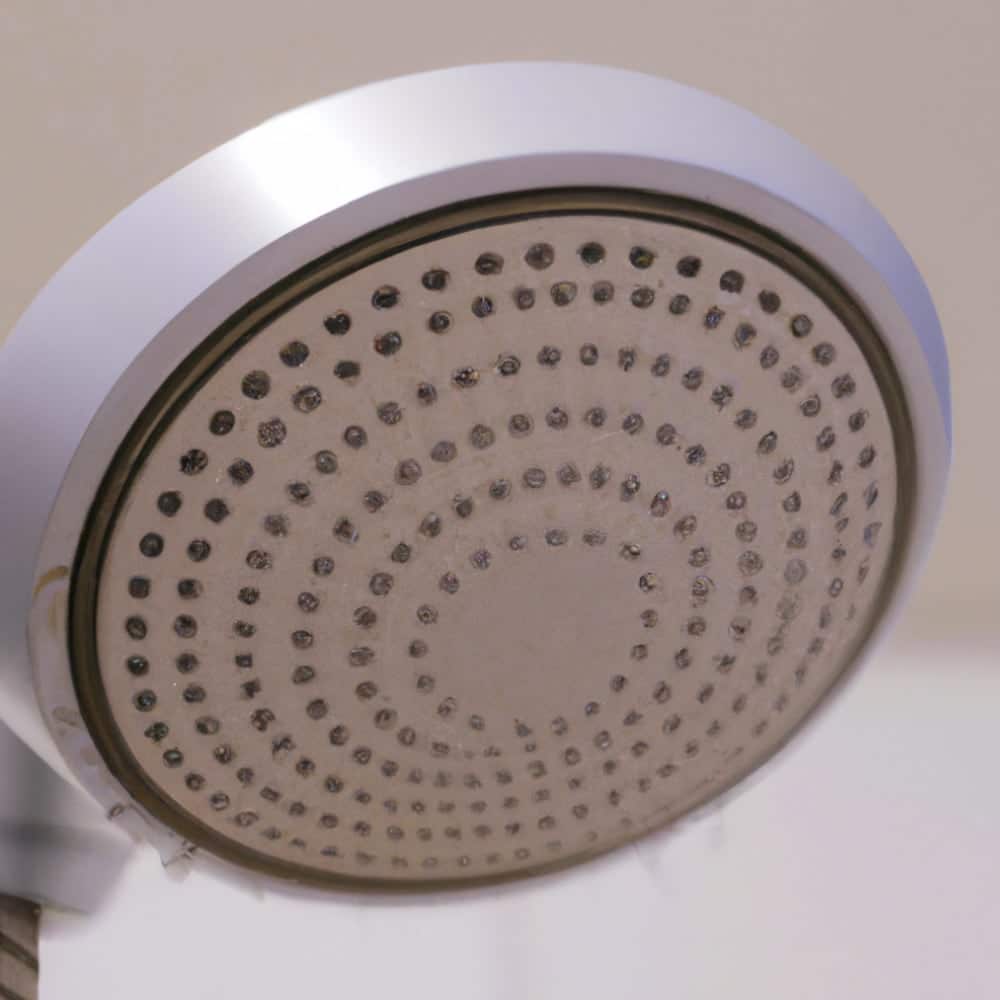
Just like your toilet, sink, and other fixtures in your bathroom, your shower head needs to be cleaned regularly.
Regular cleaning will extend your shower head’s life and help prevent the buildup of gunk and grime that can cause clogs and lower water pressure.
Here’s how to clean a shower head with natural ingredients and chemicals.
How to clean with natural ingredients

You can naturally clean your shower head using ingredients like vinegar and sodium bicarbonate (baking soda). Vinegar is a great natural cleaner because it helps to loosen dirt and grime. Baking soda is also a good natural cleaner because it is abrasive and can help to scrub away stubborn dirt.
To clean your shower head with natural ingredients, follow these steps:
Step 1: Remove the Shower Head
With a washcloth and a wrench, detach the shower head from the shower arm by turning it counterclockwise.
Step 2: Fill a Bowl with Equal Parts White Vinegar and Water
You’ll want to add about three to four cups in total, so the shower head is completely submerged. In lieu of a bowl, a small disposable plastic container can also work.
Step 3: Soak the Shower Head in the Bowl
Allow the shower head to soak in the bowl for a few hours. This will allow the vinegar to loosen any dirt and grime, especially around the nooks and crannies of the shower head.
Step 4: Scrub Away Dirt and Grime
After the shower head has soaked, use a toothbrush or soft brush to scrub away any dirt and grime, be sure to pay attention to the nozzles from which the water flows – this will help to release clogs or other debris that could be reducing the flow of water.
Step 5: Rinse the Shower Head with Water
Place the shower head under running water to remove any residue from the vinegar and baking soda.
Step 6: Reinstall the Shower Head
Clean the shower arm of any residue plumbers tape and turn the shower head clockwise until it’s tight. Next, turn the water on, ensure no leaks, and flush any remaining cleaning agents from the shower head.
How to clean with chemicals

Chemical cleaners are typically more effective than natural cleaners at removing dirt, limescale, sediment, and other debris often caused by hard water.
However, they are more dangerous and should only be used if you are comfortable working with them. Also, depending on the cleaner, some may damage the metal finish on your shower head. Always test a small area before using a chemical cleaner on your shower head.
To clean your shower head with chemicals, follow these steps:
Step 1: Read the Instructions on the Cleaner Bottle
Before using any chemical cleaner on your shower head, read and follow the instructions on the bottle. Be sure to use protective gloves and goggles and use the cleaner only for the recommended time.
Step 2: Remove the Shower Head (Optional)
If you want to conduct a more thorough cleaning of the shower head or if it has a buildup of sediment, removing the shower head from the shower arm may be a good idea. With a washcloth and a wrench, detach the shower head from the shower arm by turning it counterclockwise.
Step 3: Apply the Cleaner to the Shower Head
Liberally apply the cleaner to the shower head, and pay attention to the nozzle and connection nut. Then, you can submerge it in a cleaner for a few minutes if needed.
Step 4: Let the Cleaner Sit
Depending on the instructions, you may need to let the cleaner sit for a few minutes before scrubbing away.
Step 5: Scrub Away Dirt and Grime
Using a toothbrush or soft brush, scrub away any dirt and grime from the shower head. Be sure to wear protective goggles if you plan to use a toothbrush (or another type of brush), as small droplets may be sent flying in the air and could enter your eyes or mouth.
Step 6: Rinse the Shower Head with Water
Place the shower head under running water to remove any residue from the cleaner.
Step 7: Reinstall the Shower Head (Optional)
Reattach the shower head (if removed). Flush the shower head for a minute to ensure no remaining cleaning agents are within the shower head.
No tools? No Problem! Here’s another way to clean your shower head.

Aside from the steps above, some folks would like to clean their shower head without needing tools. If that’s you, don’t worry! There’s an alternative that only requires three items you already have in your home.
Here’s what you’ll need:
- 1 quart of white vinegar
- 1 large Ziploc or plastic bag
- 1 rubber band
Here’s how to do it:
Step 1: Fill the Bag with Vinegar & Water
Fill the Ziploc bag with white vinegar and water (equal parts), with just enough to cover the entire shower head.
Step 2: Place the Bag Over the Shower Head
Place the Ziploc bag over the shower head, ensuring that the entire shower head is submerged in the vinegar.
Step 3: Secure the Bag in Place
Use the rubber band to secure the bag in place by wrapping it around the shower arm.
Step 4: Wait and Let the Vinegar Sit
Let the vinegar sit and work its magic for 1-2 hours.
Step 5: Remove the Bag and Rinse
Remove the bag and rinse the shower head with water.
And there you have it! A clean and sparkling shower head without the need for tools.
Helpful Videos
Want a little more visual help? Here are some helpful videos that show you how to clean a shower head.
How to clean with CLR
How to clean with vinegar:
Does the Type of Shower Head Matter?
No matter the shape or design of your shower head, the steps for cleaning it is usually the same. What may impact your steps is the material your shower head is made of, as some cleaning agents can be damaging for certain types of metal finishes. Be sure to check your shower head for any instructions or warnings about which cleaning agents can damage it.
You could have some limitations, particularly with the plastic bag method mentioned above, if you have an oversized rain shower head, as the bag may not be large enough to cover the entire surface.
Frequently Asked Questions
Should you use bleach to clean your shower head?
Bleach is best to use on mold or mildew, which may help remove some of the bacteria buildup in a shower head. However, it should be used as a last resort as it can corrode and damage any metal parts. Instead, we recommend cleaners that contain lactic, gluconic, or citric acids, as they will help to remove sediment, limescale, and grime without causing damage.
How often should I clean my shower head?
Generally, we recommend cleaning your shower head every 3-6 months. However, if you have hard water or use your shower regularly, it may be best to clean your shower head more often.
What can you use instead of vinegar to clean your shower head?
While not a ‘natural’ alternative, you can use dishwashing soap or a mild detergent. Let it sit within the shower head for a few minutes, then scrub with a small brush or cloth.
Should you clean the restrictor valve as well?
The restrictor valve (also known as the filter screen or water saver) may have trapped sediment and debris. To clean the restrictor valve, use a needle to pop out the filter screen with a flathead screwdriver and give it a good rinse with running water. Cleaning this will help increase the water flow of your shower head.
