Resting between the water main and the showerhead, the shower arm is one of the key parts of your shower. Unfortunately, the connection between the shower arm and the water main can become loose over time, resulting in leaks and costly repairs.
Luckily, it’s easy to tighten a shower arm and prevent these issues.
Before we begin, ensure you have the right tools for the job.
Necessary Tools
We suggest you have the following tools:
- Plumbers tape (commonly referred to as Teflon tape)
- Screwdriver or flathead to apply leverage
- WD-40 (optional)
Here are the steps necessary to tighten a shower arm:
Total time: 15 minutes
Step 1
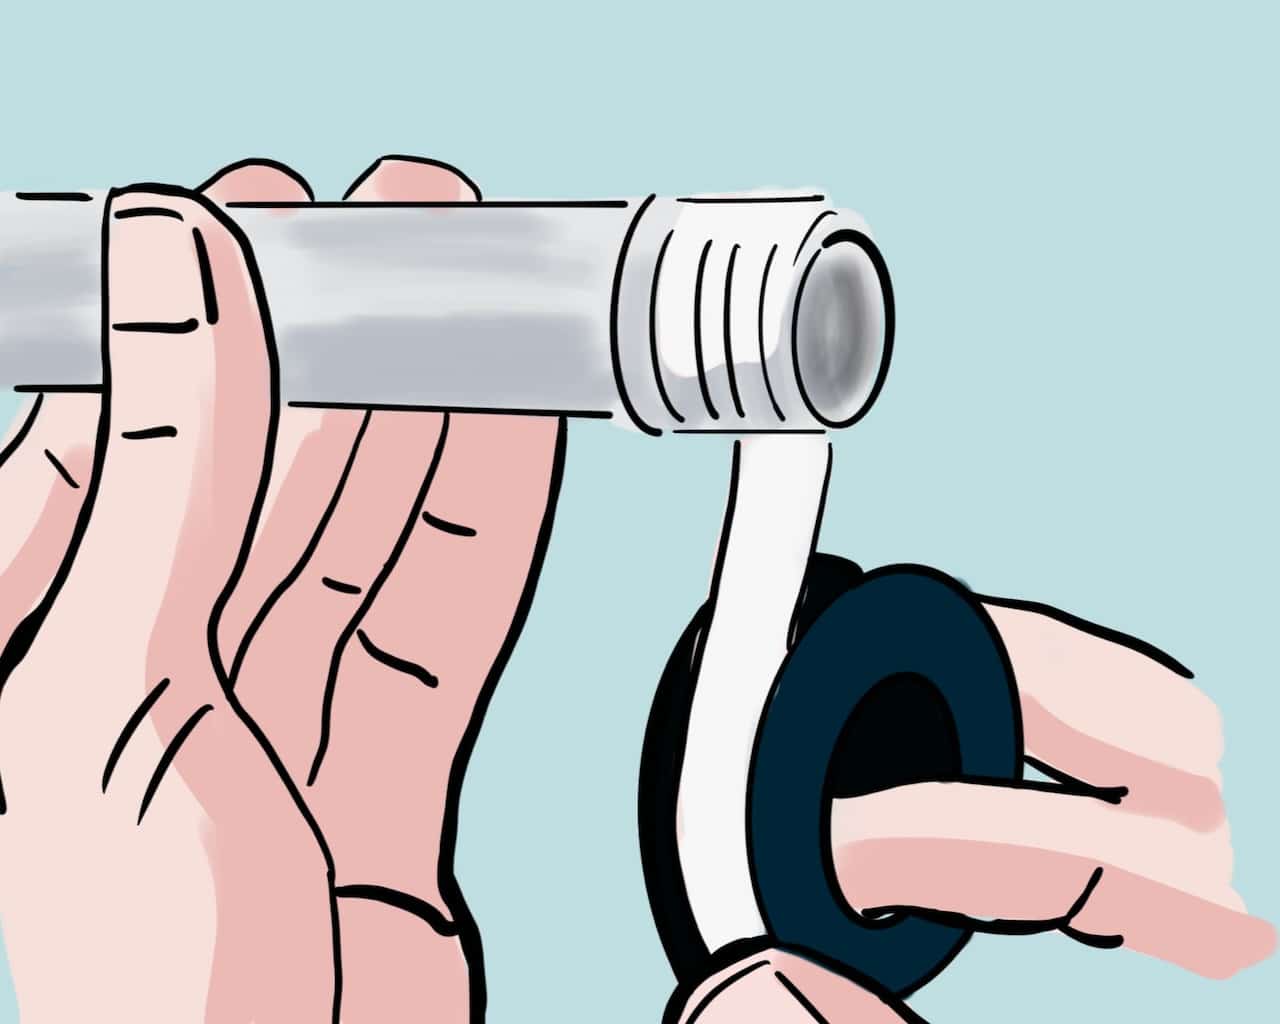
With your old shower arm removed, apply plumbers tape around the threads of the new shower arm. Be sure to apply the tape in a clockwise direction; this will prevent it from coming undone when tightening. You’ll want to wrap around the threads about four times.
Step 2
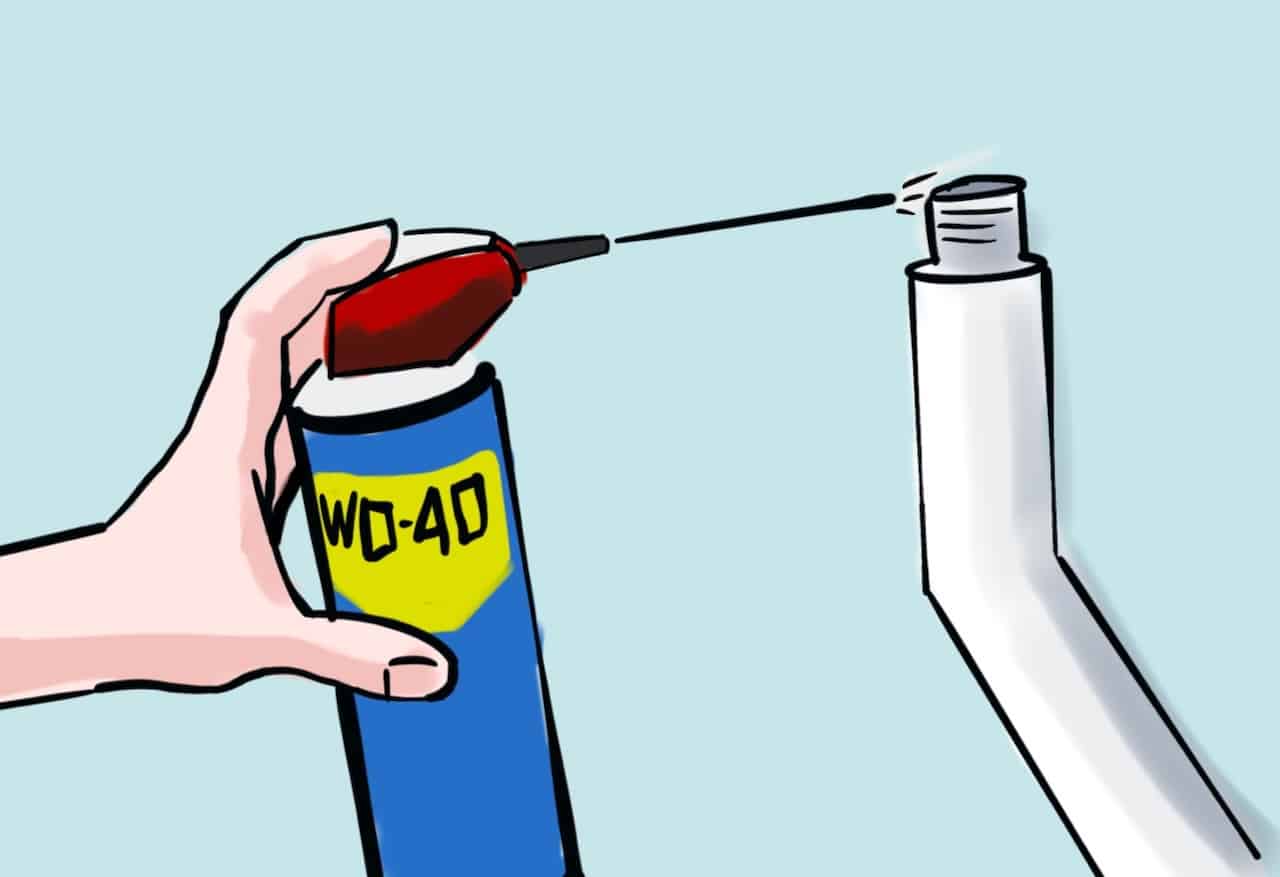
Spray a small amount of WD-40 on the end of the shower arm (this is optional but will make the next step easier).
Step 3
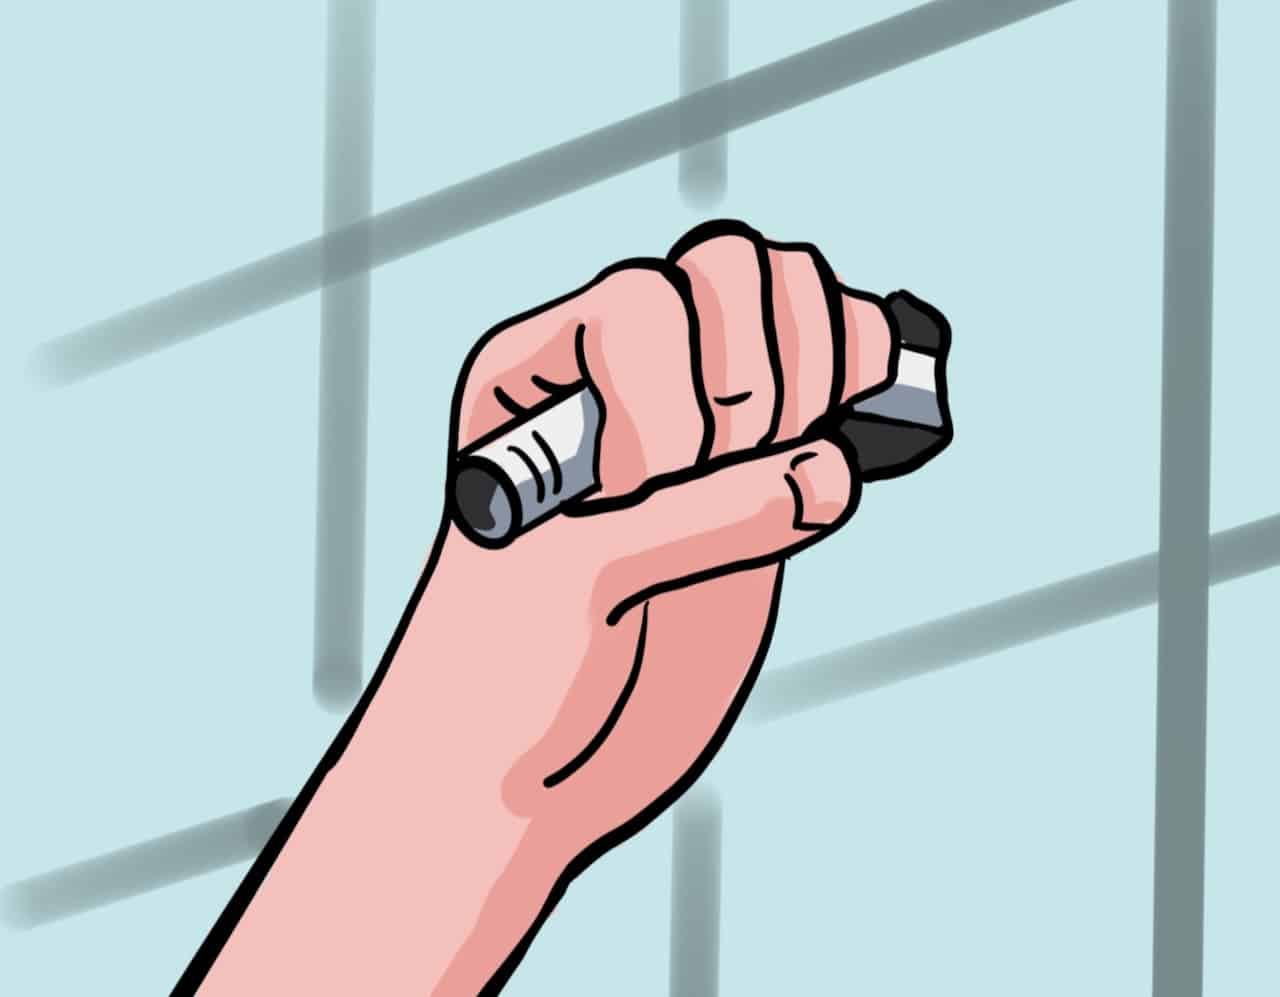
Carefully feed the shower arm through the wall and turn clockwise. Continue to turn until hand tighten.
Step 4
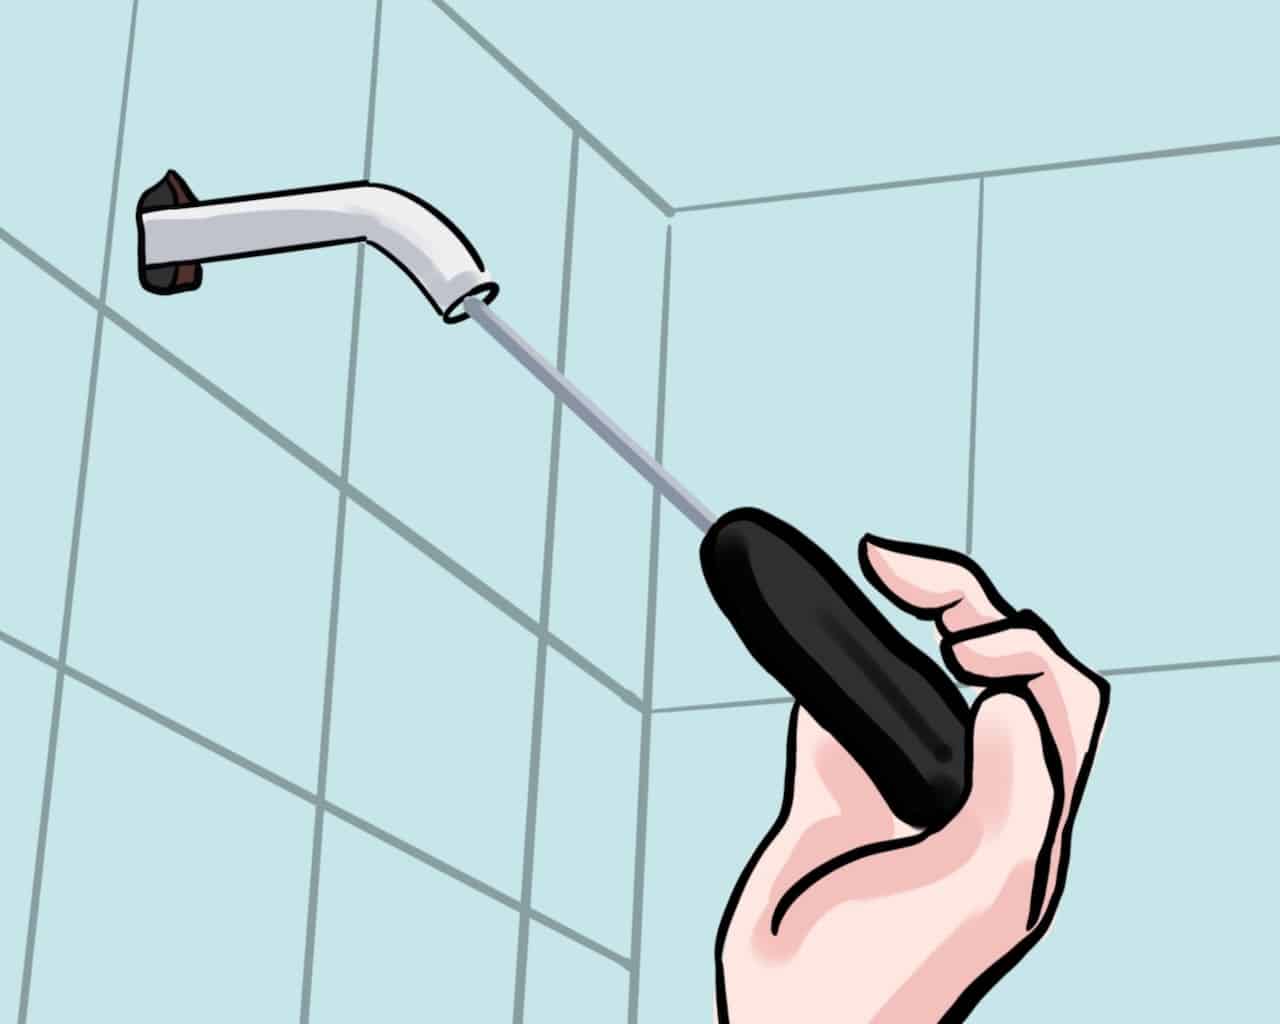
Now that the new shower arm is in place, it’s time to tighten it to ensure a watertight seal and to have it properly aligned. With your screwdriver, flathead, or any other long and solid object, begin to apply leverage while twisting the shower arm clockwise.
As you twist, properly align the shower arm so that it’s pointing straight down so that when you’re finished, water will flow evenly.
Step 5
Before putting the flange on, test the connection by turning the water on and letting it run for a minute or two. You’ll want to check for any leaks at the connection point.
If there are no leaks, you’re ready to put the flange back on and reattach the showerhead.
Video
Here are a few helpful videos demonstrating the process:
Common Problems When Attempting This Job
While the steps above may seem fairly straightforward, some problems may arise. Here are some of the common problems and the solutions:
Shower Arm Just Short of the Alignment Point
If the shower arm is crooked by just a few degrees, you’ll need to remove the shower arm and try again. This time you’ll want to apply a more liberal coating of WD-40 and perhaps one or two fewer wraps of plumbers tape. This should provide just enough ‘give’ for the shower arm to move a few extra degrees to get the proper alignment.
Shower Arm Just Past the Alignment Point
On the other hand, if you’ve overshot the alignment point and the shower arm is now pointing to the left (9 o’clock position on clock), you’ll need to remove the shower arm, add another layer of plumbers tape and skip on applying any WD-40. Give it a good hand tighten, and use your leveraging tool to bring it back to the 6 o’clock position.
Leaky Shower Arm at the Connection Point
There are two potential problem areas if your shower arm is leaking water. The first is that the connection point may be too tight or loose. In this case, you’ll just need to remove the shower arm, rewrap the threading with Teflon tape and then screw the shower arm back into place. Remember to wrap the Teflon tape no more than four times around the threads.
The other potential problem area is that the plumber’s tape may have come undone. If this is the case, you’ll need to remove the shower arm and reapply the Teflon tape in the correct direction (clockwise).
Conclusion
Tightening a shower arm is a relatively easy and can be completed in less than 15 minutes. With the right tools and a little patience, you can save yourself from costly repairs down the road. If you have any questions or encounter problems while attempting this job, feel free to contact a professional plumber for assistance.